After cutting enough 2.5" by WOF strips to total around 40 in order to end up with a good lap sized quilt, I pulled out some 2.5" squares that I had already cut for a previous quilt and were extra. I counted them up and had enough of the browns to use for the quilt, so that's what I went with. (In hindsight they don't really match the quilt, but they are also the inspiration for the name. When it's spring and there's rain, there of course has to be some mud along with it. This quilt kind of portrays the way spring can be as one walks down a lane: pretty flowers blooming, a patch of mud, another row of flowers, another patch of mud, and so forth. You have to think a little creatively to see it. As for the kitties on the back, well, that's just for the person cuddling underneath the quilt to enjoy as the backing is flannel and whomever gets it I'm sure loves kitties.)
I then sat down at my machine and began sewing away. I grabbed a random strip and sewed the 2.5" end to a square, grabbed another random strip and sewed it to the other end of the square. I continued with this pattern, strip square strip square, until I had one loooooong strip of strips and squares and had used all my cut pieces. This is where the fun part come in. I took each end of my long strip, put them right sides together, and began sewing them together on one long side. I continued sewing (it took a bit!) until I made it where the middle of the strip would be. It was twisted here, but that's okay because I just snipped it and finished up the sewing to the end. I then had a long double strip half the size as it was before. I again put the two ends together and sewed the long sides together. I did this until the quilt was the correct size. It is a neat technique and comes together fairly quickly, depending on how fast one sews. I have already taught two of my friends who have never made a quilt before how to do this and I am proud to say that one has already completed her quilt top and is moving on to sandwiching it together. She did not use squares and carefully chose matching fabrics for her strips, so it is very lovely. I cannot wait to see it finished!
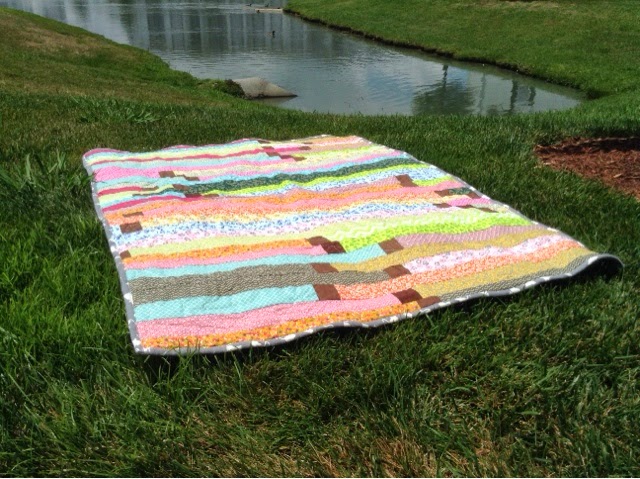
Here is mine all finished, after ripping out part of the quilting that "eyelashed" and redoing it, it actually didn't turn out too bad.